Friday, November 25, 2011

Coronet "Three-D" with a Stuck Shutter

I picked up a Coronet "3-D" camera (their quotes).  It was in total working condition, but then I messed with it too much.  So I had to un-stick the shutter pin.  Apparently shutter *pins* were all the rage for a while there .. don't ask me why.  Seriously, look at cameras from the forties and you'll see shutter pins everywhere.

So anyways, I pulled off the face of the thing so I could look at the shutter apparatus.  I applied tons of trimmer oil (this is why you keep that little bottle when you get a new trimmer) and did some screwdriver prying, and did some pulling with jewelers' pliers.  (Everyone should own a set of jewelers' pliers, btw .. and a good pair of diags.)

So what was the best way to unstick the shutter pin?  After all that, you just gotta pretend you're James Dean with a soft-pack of cigarettes.  Holding the camera with your right hand, smack it into the crook of your left hand.  The pin is the cigarette in this scenario, and it ends up popping out very swankily.

Seriously.  Save the oil for another camera project.  You just gotta smack this one firmly and the pin pops out.  Probably.  I hope.  But it never hurts to have a bit of trimmer oil, I guess.

Thursday, November 24, 2011

Minecraft on Mac OS X with 64-bit Java

So you're a slave to warning messages and you want Minecraft to use 64-bit Java.  Here's how to do it on the command line.  These instructions were crafted on MacOS Lion, which should prefer 64-bit Java when possible (Applications/Utilities/Java Preferences).  These instructions assume the default Minecraft.app location, in the main /Applications folder.  I had a few tabs open, while I was sussing this out, including an excellent forum post, a post on JavaApplicationStub bits, and the official reference for CF keys.

Here we go.

Swap out Minecraft's JavaApplicationStub for the current OS' version:
  gzip /Applications/Minecraft.app/Contents/MacOS/JavaApplicationStub
  cp /System/Library/Frameworks/JavaVM.framework/Versions/Current/Resources/MacOS/JavaApplicationStub /Applications/Minecraft.app/Contents/MacOS/

Then, add 64-bit architecture to Minecraft's possibilities:
  /usr/libexec/PlistBuddy -c "Add :Java:JVMArchs:0 string 'x86_64'" /Applications/Minecraft.app/Contents/Info.plist

Launch.  That should do it.  Watch out for creepers.  Have a nice day.


* * *


If everything goes wrong, here's how to roll back from here to your original configuration:
  rm /Applications/Minecraft.app/Contents/MacOS/JavaApplicationStub
  gunzip /Applications/Minecraft.app/Contents/MacOS/JavaApplicationStub.gz
  /usr/libexec/PlistBuddy -c "Delete :Java:JVMArchs:0" /Applications/Minecraft.app/Contents/Info.plist


How to tell if you're using a 64-bit kernel in the first place is easy.  Look for "x86_84" in the output of the below command.  If you see i386 or ppc, you might be on a system that can't handle 64-bit, or you might need to instruct the system to boot with a 64-bit kernel.
  uname -a   # should include "x86_64" in the output.


What's this JavaApplicationStub anyways?  It's like a chain loader .. only different!  When you double-click the Minecraft icon, the Finder looks in Info.plist for the CFBundleExecutable value.  It launches that, to start the app.  The JavaApplicationStub is a native binary that helps invoke Java in the right way to get Minecraft running.

What's that PlistBuddy command?  It's a command-line tool included in more recent releases of Mac OS, that lets you directly read, write, erase, fold, spindle and mutilate Plist.info files.  It's got a man page, but here's a quick example of reading your JVMArchs array, if you want to double-check that it's got x86_64 at the top:
  /usr/libexec/PlistBuddy -c "Print :Java:JVMArchs" /Applications/Minecraft.app/Contents/Info.plist

What's with you and the command line stuff?  I don't know.  I suspect that my epitaph will simply be an elegant one-liner.

Monday, November 14, 2011

Suzuki Gladius SFV650 Turn Signal Size

The Suzuki Gladius SFV650's turn signal bulbs are 1156 A Offset Pin size.  Since it took me a while to figure it out, hopefully this will save someone else a bunch of searching.

I have no idea what the 1156 is for, except that one of the 1s indicates that it's a single filament bulb.  The "A" is for "Amber" because the bike's turn signal cover is clear, so the bulb has to be amber tinted.  And the "Offset" pin configuration means that the two bayonet pins are not exactly across from each other on the circumference .. one is "offset" from a straight-across position.  So, the pins are closer to each other on one side, and farther on the other.  Wacky.

Saturday, November 5, 2011

The Sysadmin's Wiki and the Advertising Executive's Rolodex

I've been pondering this a little, but I'm not sure where it belongs.  It's in my blog backlog, though, so here it lives.  I worked in advertising for a short while and noticed some fun quirks of the industry.  ("Worked" in the industry?  Hah!  Actually, I was answering phones.)

You see, executives had a rolodex on their desk, that they protected like a vital organ.  And it *was* a vital organ -- the contacts in there were "theirs," and made the executive uniquely valuable.  When an executive quit, or was fired, the first thing they did was grab their rolodex.  Only then would they make sure they had trivialities such as car keys or their wallet.

Sysadmins have an analogue ... our wiki pages.  But they're typically hosted on an internal company server, readable by the rest of the team.  And then, some sysadmins refuse to post information to the wiki, guarding it like their "rolodex."  They don't say as much, but you know which ones are trying to stay valuable by not spreading tribal knowledge.

How similar are these?  Sysadmins and ad-people have mostly opposite attitudes towards the information that makes them valuable, but the analogy itself might hold water.  Has there been a change in the advertising field, as companies have moved to shared, server-based customer relationship systems that the corporation owns?  I wouldn't dream of hoarding my information, and I think *that* makes me uniquely valuable ... so am I "right" or just used to having the corporation "own" my information?  I wonder.

P4 Chronicle Beta on CentOS 5

(UPDATE: "Getting into" the beta is actually no big accomplishment.  Installing on 64-bit CentOS 5 is, tho.  Got it done!)

I got into the P4 Chronicle beta.  They support it on Centos 6 .. but my stuff is all still 5 .. at least the publicly available servers are.  It looks like the only thing I'll need to do is get PHP 5.3, which EPEL has.  I'm gonna document this one on its own page.  The neat shift in Chronicle is that it puts real version control right on the server .. which is worlds apart from just an RDBMS.  At least that's how I'm summing it up, so far.

New Toys

A couple weeks ago I swung by the swap meet again, and I've got a few new friends.  On the left is an Agfa kinda-thirty-five-mm camera -- which seems to take 35 mm film, but how it's taken up on the other spool (which is actually a cartridge) is unclear.  On the bottom is a Brownie Reflex -- which I thought took 120 film (not the first time I've made the custom-Kodak-size-film side-quest) but actually takes 127 film.  And finally there's a classic Sawyer's View Master -- which promises "third dimension pictures in full color kodachrome."  We truly live in the space age.

Time for another obscure-film-size rabbit hole!

An Evening with Joli OS 1.2

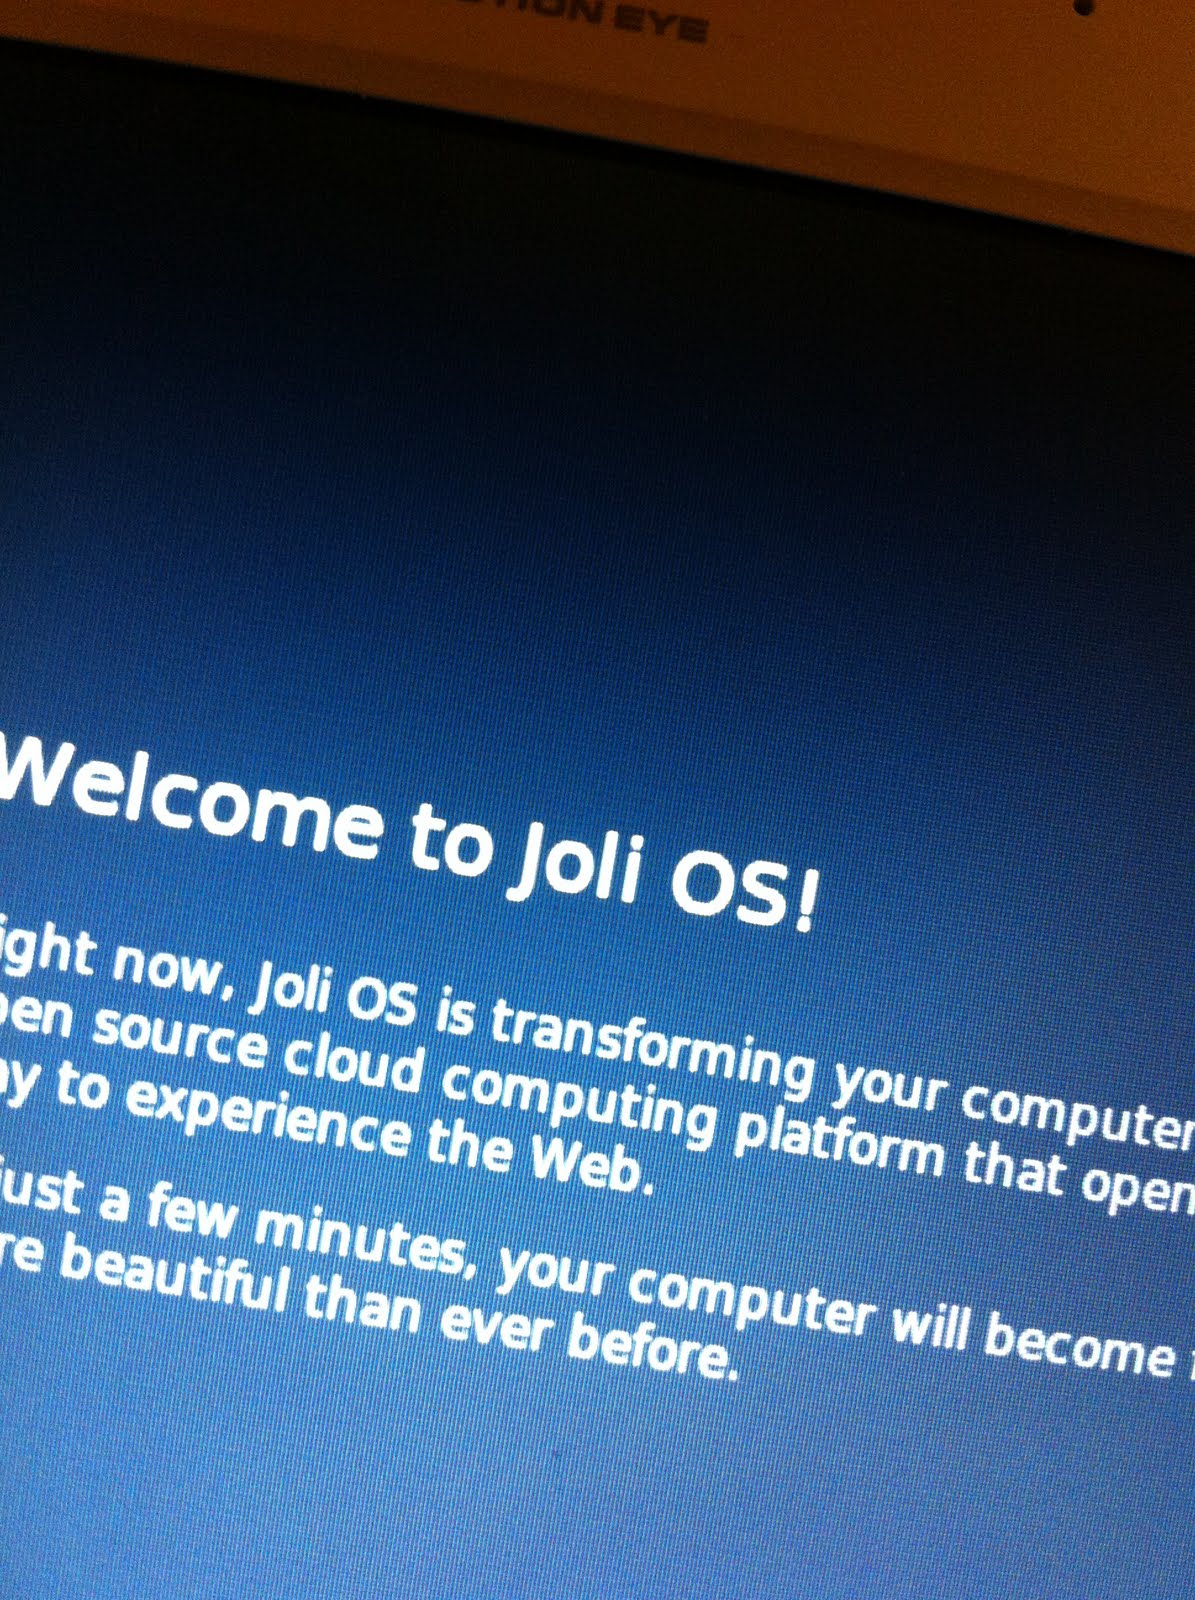
I decided to spend an evening installing and playing with Joli OS 1.2.  The idea is pretty kewl.  It's a linux distro that's optimized for running on stinky old machines, like netbooks.  In an always-connected world, where "applications" are increasingly just web sites, you can slim down your computer to merely a kernel, a web browser, and a handful of "native" utilities.  (iPhone 1, anyone?)

Your login credentials are checked over the internet.  You use a jolicloud.com account or your Facebook login to identify yourself and pull up your customized desktop.  You can use any computer that's running Joli, as long as the computer's owner has allowed guest access.  Or if you're on a completely foreign computer, you can access your stuff as a normal web site.

The interface is rendered in a build of Chromium, and offers you pretty much all the "apps" you'd want to start with.  You've got the usual suspects .. Twitter, Faceyspace, Flickr, YouTube ..  And you can link-up using Gmail, Skype, Google Voice, Pidgin.  Heck, add a link to chatroulette and it looks like just another application on the desktop.  It augments the social functions with work-stuff like Google Docs, Office Live, box.net, and similar "my content lives in the tubes" stuff.  More apps are available for download, just a search away.

There are a few great use-cases for Joli OS.  Say your family has an iPad, but mom or dad take it with them to work, this is a way to use the old netbook (paperweight) to get roughly the same functions (Angry Birds) when you're "slumming it."  If you're reading a Pynchon book in bed, this makes a nice substitute for trying to look words up on your iPhone's dinky screen.  And the men in black can search your hard drive all they like, since your map of Area 51 is safely stored online.

Under the plastic, it's running Debian Squeeze.  Some portions of the configs are copypasted from Ubuntu.  They load a 2.6 kernel, chosen for your particular CPU, and boot through GRUB.  Note, whatever code line it's on, some Ubuntu-specific hacks/fixes don't work like you want them to.  Wanna take it apart?  Alt-F1 gives you a terminal, just like you'd expect, and you have sudo.

The whole install takes a little over 2 GB on disk, so it's not a big investment to throw it in a small partition on your hard drive.  Or, if you prefer, the LiveCD-style bootable usb disk is fully functional.  I'm gonna have a little more fun with it, locally installed, though I don't expect it to replace my "real" OS.  I *do* expect that I'll be able to recommend it to someone with a well-suited environment .. where shared access to old intel hardware is the norm and the users all have facebook accounts.

Mounting an iDisk on Linux (Quick and Dirty)

Here's how to get your iDisk mounted in your home directory on a linux machine.  You'll need to have sudo privileges.  Also, you'll need to type your iDisk username and password by hand, when prompted.  You could automate all of this quite nicely, but I'm only interested in an as-needed one-liner that I'll copy and paste (or script).

First-time, you'll need the davfs2 package installed.  If you're on debian (ubuntu) apt already knows where it is.  If you're on redhat (centos) you'll need to add Dag's rpmforge repo, before yum will be able to find davfs2.

  sudo apt-get davfs2  # for debian/ubuntu users.
  sudo yum install davfs2  # for redhat/centos users who have rpmforge enabled.
  # if yum can't find it, you need to install the rpmforge repo from http://repoforge.org/use/

Then, you can issue this one-liner to make a mountpoint (fine if it exists already); and mount your idisk on it, owned by you.  (You might make this is a script in your home directory, for easy access.)

  sudo mkdir $HOME/idisk ; \
  sudo mount -t davfs https://idisk.me.com/YOURICLOUDUSERNAME \
    $HOME/idisk -o rw,uid=`id -u`,gid=`id -g`

After, when you're done, unmount your idisk, to make sure that all of your changes have been uploaded.

  sudo umount $HOME/idisk

Hopefully this is a good starting point for someone who wants to automate this when a user logs in.  You may need/want to have FUSE involved in that.  I'm not talking about just adding it to /etc/fstab .. there's a "right" way to do it magically per user, and only when they're logged in.  Extra points for letting it remember your password.  Please add a comment if you've done it!

Thursday, November 3, 2011

My Arduino Presentation for Quantified Selves

Arduino is such an easy way to work with data from sensors.  Plenty of folks who want to play with sensors have heard of it, but don't really know what it's capable of.  Is it worth investing time in?  Well, I'm a fanboy, so I cooked up a really quick presentation for Quantified Self in San Diego on the basics.

I was really pleased with how it worked out!  Folks came up to me afterward and said they'd wanted to check out Arduino, but didn't really know what kind of project to apply it to.  And I think the simplicity and affordability of the thing got plenty of people brainstorming.

If you've seen me do a quick, casual presentation, you know that my favorite thing in the world is to introduce folks to really useful tools that get them scheming.  I'm pretty sure I got the ball rolling for a few people.

Installing Puppet on Centos 5 directly from Puppet Labs

photo: wikimedia commons : User:Liftarn
If you want the latest stable release of puppet on a Centos 5 machine, you can get it from Puppet Labs' own yum repo.  Other "usual" add-on repos (epel, fedora, e.g.) can lag by as much as one minor version.  Puppet Labs tries to keep the version in their repo as stable as possible, according to the Puppet professional services guy sitting across from me, today.  (Hi, Carl!)

First, download an rpm to add the puppet labs yum repos.  Then download an rpm to add the EPEL repo.  Puppet requires a couple sneaky ruby pieces, and EPEL has 'em.  (ruby-shadow and ruby-augeas, fyi)

  cd /tmp
  wget http://yum.puppetlabs.com/el/5/products/x86_64/puppetlabs-release-5-1.noarch.rpm
  sudo rpm -Uvh puppetlabs-release-5-1.noarch.rpm
  wget http://download.fedora.redhat.com/pub/epel/5/x86_64/epel-release-5-4.noarch.rpm
  sudo rpm -Uvh epel-release-5-4.noarch.rpm
  yum repolist  # just to see that they actually installed

Both repo definitions enable their main binary repos, for a normal `yum install` command, so there's no need to add flags to enable them.  Source repos and testing versions are disabled, but can be enabled if you have some nutty reason to do it.

You should now be able to `yum install` the puppet client and/or server -- with all the dependencies being available.

  yum install puppet # for a client
  yum install puppet puppet-server # to include the server pieces, as well.
  # actually, pupper-server just adds an init script
  # and some scripts that pretend to be things like puppetmasterd

Ta da!