Showing posts with label beer. Show all posts

Sunday, January 1, 2012

Using RGB LEDs on an Arduino

Click to embiggen.
For some reason, it wasn't easy to find sample code or pinouts for using a common-cathode RGB LED with Arduino.  I think I'm missing something obvious, but oh well.  So, I messed around and got it to work.

  • The longest pin takes 5v in.
  • Grounding the other three illuminate red, blue and green.
  • You can use digital PWM outputs to ground those pins.
  • Setting a pin to 0 illuminates that color.  1023, off.
  • Setting a pin to an intermediate value adjusts its brightness.
I've done a super simple diagram, at right.  And copypasted some bare-bones code that runs through each pin, in turn, grounding it for a half second.  These links go directly to the sketch, and the fritzing diagram.


//
// RGB LED figure-er-out-er by gabe.                 gms@causalloop.com
//    an Arduino & Beer (tm) Production.                blog.fnaard.com
//
// Run your RGB LED's longest pin to 5v.  Run the other pins to digital
// pins 9, 10 and 11.  I've put a 330 ohm resistor, in series, between
// each of those three pins and its corresponding digital pin.
//
// This sketch runs through pins 9, 10, 11 grounding each one in turn ..
// for sussing out which pin illuminates which color inside the thing.
//
// You gotta set all the pins to OUTPUT, so that you can write values
// to them.  They won't actually output any voltage .. in fact, they'll
// act as ground.  Setting a value for the pin will adjust its PWM rate
// and that adjusts how much electricity can flow through that color LED.
//
// Put simply, it's what you do with single-color LEDs, but in reverse.


void setup () {
  pinMode ( 11, OUTPUT );
  pinMode ( 10, OUTPUT );
  pinMode (  9, OUTPUT );
}


// Now just run through the pins, setting each one to full brightness (0)
// for a half second, while setting the other two to off (255).


void loop () {
  analogWrite ( 11, 255 );
  analogWrite ( 10, 255 );
  analogWrite (  9, 0    );        // Red, on mine.
  delay(500);
  analogWrite ( 11, 255 );
  analogWrite ( 10, 0    );
  analogWrite (  9, 255 );     // Green on mine.
  delay(500);
  analogWrite ( 11, 0    );
  analogWrite ( 10, 255 );
  analogWrite (  9, 255 );     // Blue on mine.
  delay(500);
  analogWrite ( 11, 255 );
  analogWrite ( 10, 255 );     // Everyone off.
  analogWrite (  9, 255 );
  delay(1000);                   // Pause longer.  For dramatic effect.
}

Wednesday, December 28, 2011

Arduino Ethernet is Alive

I've attached two LEDs, a dial, a light sensor, and a passive infrared motion detector to the Arduino Ethernet.  I've got it running a telnet server and a web server.  I can telnet to the little guy and instruct it to turn the LEDs on or off.  Or point a web browser at it, to see the current status of lights and sensors.  It tries to return JSON, but my structure might not be entirely clean.  Also, it's behind a few layers of NAT, so not yet publicly available.  (Soon!)

It's all stand-alone, which is pretty kewl.  Give it a connection and a few volts -- it'll happily start up and begin sensing things and controlling its lights.  You can imagine keeping these in a data center, with DHCP and a dynamic DNS client.  Plug it in, it reports its IP to you and awaits queries about the environment, or commands for the LEDs.  (Or reads sensors and sets LEDs by its own logic, while it waits for a human.)

The whole thing -- board, power adapter, cable, sensors, lights -- is well under a hundred bucks!

Download my kludgey arduino code and my chaotic fritzing layout, if you like. (Remember, it's a weekend project -- it doesn't have to be pretty.)

Monday, December 26, 2011

Arduino Ethernet is Running

Look carefully, you can see the link light on the ethernet connection there.  It's an Arduino Ethernet board.  In the picture, I'm running it on a 9v adapter, but it'll draw power off a USB-to-FTDI connection as well.

I ran through the Client DHCP example on the arduino.cc site, and that worked great.  I ran through the Server example as well, but that needed a couple modifications to work for me.  (Add `#include <SPI.h>` at the top, change the Server and Client classes to EthernetServer and EthernetClient.  I'm not a programmer, so don't quote me on that.)

Up next: muck about with Pachube, try some Wikiduino, see what I can do about tunneling to its web server (behind a cable modumb) ...  And after that?  Same thing we do every night, Pinky.

Friday, November 25, 2011

Coronet "Three-D" with a Stuck Shutter

I picked up a Coronet "3-D" camera (their quotes).  It was in total working condition, but then I messed with it too much.  So I had to un-stick the shutter pin.  Apparently shutter *pins* were all the rage for a while there .. don't ask me why.  Seriously, look at cameras from the forties and you'll see shutter pins everywhere.

So anyways, I pulled off the face of the thing so I could look at the shutter apparatus.  I applied tons of trimmer oil (this is why you keep that little bottle when you get a new trimmer) and did some screwdriver prying, and did some pulling with jewelers' pliers.  (Everyone should own a set of jewelers' pliers, btw .. and a good pair of diags.)

So what was the best way to unstick the shutter pin?  After all that, you just gotta pretend you're James Dean with a soft-pack of cigarettes.  Holding the camera with your right hand, smack it into the crook of your left hand.  The pin is the cigarette in this scenario, and it ends up popping out very swankily.

Seriously.  Save the oil for another camera project.  You just gotta smack this one firmly and the pin pops out.  Probably.  I hope.  But it never hurts to have a bit of trimmer oil, I guess.

Saturday, November 5, 2011

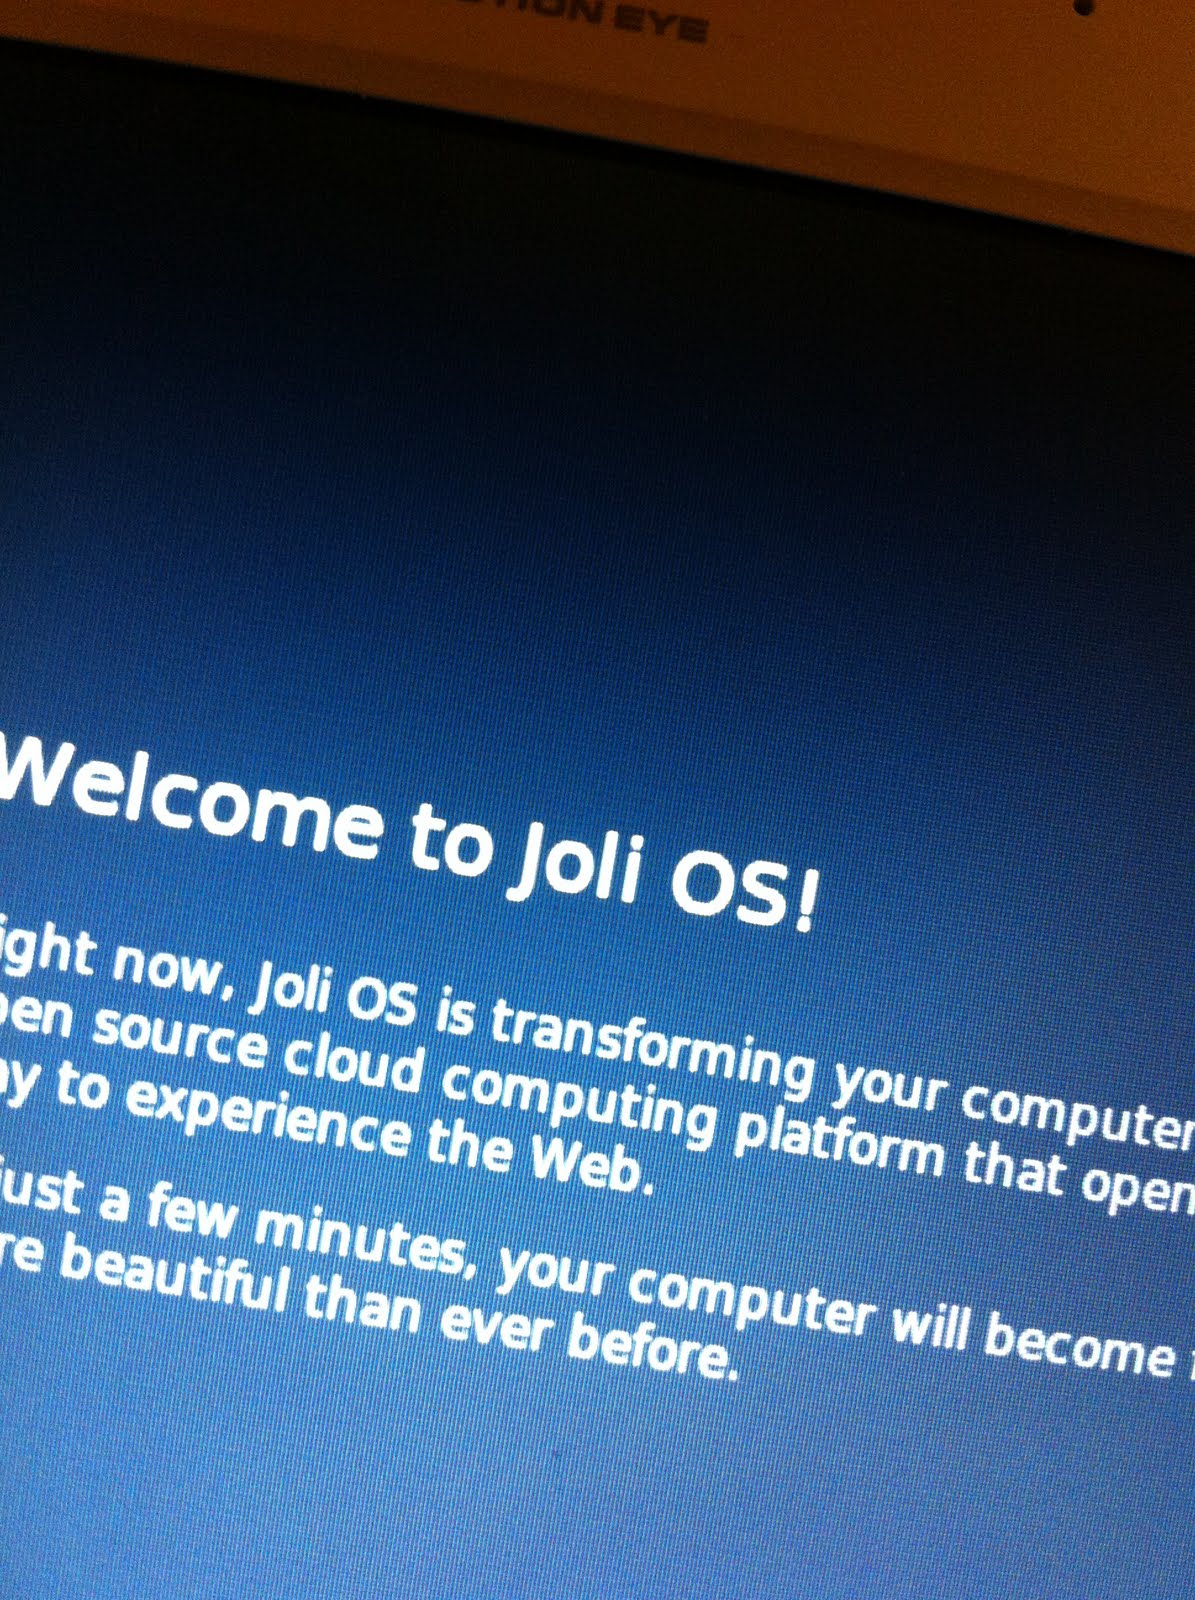
An Evening with Joli OS 1.2

I decided to spend an evening installing and playing with Joli OS 1.2.  The idea is pretty kewl.  It's a linux distro that's optimized for running on stinky old machines, like netbooks.  In an always-connected world, where "applications" are increasingly just web sites, you can slim down your computer to merely a kernel, a web browser, and a handful of "native" utilities.  (iPhone 1, anyone?)

Your login credentials are checked over the internet.  You use a jolicloud.com account or your Facebook login to identify yourself and pull up your customized desktop.  You can use any computer that's running Joli, as long as the computer's owner has allowed guest access.  Or if you're on a completely foreign computer, you can access your stuff as a normal web site.

The interface is rendered in a build of Chromium, and offers you pretty much all the "apps" you'd want to start with.  You've got the usual suspects .. Twitter, Faceyspace, Flickr, YouTube ..  And you can link-up using Gmail, Skype, Google Voice, Pidgin.  Heck, add a link to chatroulette and it looks like just another application on the desktop.  It augments the social functions with work-stuff like Google Docs, Office Live, box.net, and similar "my content lives in the tubes" stuff.  More apps are available for download, just a search away.

There are a few great use-cases for Joli OS.  Say your family has an iPad, but mom or dad take it with them to work, this is a way to use the old netbook (paperweight) to get roughly the same functions (Angry Birds) when you're "slumming it."  If you're reading a Pynchon book in bed, this makes a nice substitute for trying to look words up on your iPhone's dinky screen.  And the men in black can search your hard drive all they like, since your map of Area 51 is safely stored online.

Under the plastic, it's running Debian Squeeze.  Some portions of the configs are copypasted from Ubuntu.  They load a 2.6 kernel, chosen for your particular CPU, and boot through GRUB.  Note, whatever code line it's on, some Ubuntu-specific hacks/fixes don't work like you want them to.  Wanna take it apart?  Alt-F1 gives you a terminal, just like you'd expect, and you have sudo.

The whole install takes a little over 2 GB on disk, so it's not a big investment to throw it in a small partition on your hard drive.  Or, if you prefer, the LiveCD-style bootable usb disk is fully functional.  I'm gonna have a little more fun with it, locally installed, though I don't expect it to replace my "real" OS.  I *do* expect that I'll be able to recommend it to someone with a well-suited environment .. where shared access to old intel hardware is the norm and the users all have facebook accounts.

Saturday, October 1, 2011

Nook Color as Android Sandbox

(Update: I have a page of notes from my weekend of hacking around.)

My friend Andrew has lately been showing up to pub night with his full size Android tablet, and showing off the apps he's been writing.  Naturally, this means I have to get my own, so I can suss out the development process a little more thoroughly.  I just can't stand not knowing things.

All I want is a small (seven or eight inches diagonal) device, that's got a color display and is capable of multi-touch.  From my research, the Samsung Galaxy Tab was a really top-shelf choice.  But I also know that a Nook Color can be convinced to run a full Android install.

I popped down to my local retailer and played.  Man those Samsung devices are pretty .. but at half the price, the Nook Color was just too compelling a device for my "hack around for fun" purposes.  I decided to be fiscally responsible.  Don't ask me why.

Up next: I'll load a "real" install of Android on it, replacing the stock "just an Android-based e-reader" version that it ships with.

Sunday, September 18, 2011

New Toy

This little guy arrived the other day, just in time for a quick Arduino and Beer trip I'm taking up to the Bay Area.  It's a little thermal printer, similar to the ones in cash registers.  It's light, and it seems to only need one or two amps at five volts.  I have a battery pack that puts out two amps at that voltage.  My brother has some plans.

The manual is kinda fun .. it's chinese and bad english .. but the last page shows some extended characters, one of which is a solid black square, so I might be able to do QR codes on self-adhesive paper.  Extra checksums plz!

Some of the docs mention RS232, so I'm gonna pack a usb-to-db9 connector with me.  They also mention useful configuration bits for running on battery power, so we're in the right neighborhood for a battery-powered application.  Hey and the example code is for Processing!  Plus, there's a link to some good-looking Arduino hackery.  I think we'll hit the ground running!

Sunday, August 28, 2011

A Weekend with the Hak5 Pineapple

It's been a fun weekend!  I finally dove in to the Hak5 Pineapple more deeply than I'd been able to do at the conference.  I took notes as I went.  I've got the basic configuration all sorted out and I'm getting good at the OpenWrt side of it.
I've got a couple complicated network topologies that I want to try.  Well, I've already "tried" them ... I need to get them to actually work.  ;)  So, there's at least one more weekend of fun to get everything configured right.  And after that, at least a few days of fun carrying it around and seeing what it sees.  It's like the wifi-scan-and-tweet zipit .. on steroids.

Saturday, July 30, 2011

Hacking a 120 Film Roll Down to 620 Size

I picked up a Brownie Hawkeye camera a couple weeks ago.  I thought it took 120 format film, but it actually takes 620 format film.  620 film is the original "printer cartridge extortion" scheme.  It's exactly the same film as 120 format, but the end caps of the spool are slightly thinner, and they're of a slightly smaller diameter than 120.  The barely-bigger 120 spools won't fit in a 620 camera; you have to buy Kodak 620 Film.  Bastards.

If you're lucky, which I was, the camera had an empty 620 spool in it.  You can put this on the receiving side, to let the camera reel the exposed film onto.  So the challenge is just to get a roll of fresh 120 film to fit onto the unexposed side.
My workshop classmate Nalini brought me a stack of info on this.  (Thanks!)  Some people modify new 120 rolls that have fresh film on them.  Other people hack empty 120 spools to look like 620, then use a changing bag to pull the film off a 120 roll, and then roll it back onto their hacked 620 roll.  I haven't tried any method yet, so I don't know.  But here's what I've learned about modifying a 120 spindle to fit like a 620 spindle.

You have a few choices for reducing the diameter of the 120 roll's spindle ends.

  • I tried shaving the ends down to a narrower diameter with a Dremel.  This was really ugly.
  • Clipping the ends down with large nail clippers worked pretty well.  I recommend it.
  • But my favorite was using a pair of electricians' scissors to trim down the diameter.  Clean and easy!
And then you've got options for thinning down the spindle ends, too.

  • Some folks recommend thinning it down with a metal file.  I'll bet that works nicely.
  • I tried using the Dremel with a sanding disc, and it was a little sloppy.  (But worked.)
  • Better was to use the cylindrical sander attachment for the Dremel.  Nice and tidy!

So now I've got an empty 120 spindle that fits in a camera that takes 620 film.  I'll try pulling 120 film off another spindle and feeding it back onto my make-believe 620 spindle.  Then I'll try taking a loaded 120 roll and trimming off the ends with the unexposed film still on.  And after that, well, you can actually still buy 620 rolls, it's just a specialty item.

I'll report back with details about what worked and what didn't.

Tuesday, September 29, 2009

Day Off

This was from a day off that I took a couple weeks ago.

Saturday, August 15, 2009

Musical Prehistory

These are flutes, dug up in southwestern Germany, which I was reading about last weekend. They're more than thirty-five thousand years old. Thirty. Five. Thousand. That predates beer by five thousand years (in Europe at least, though not Sumer).
Thanks to Hollywood, we think of early descendants of apes banging on percussion instruments in their spare time, when not preoccupied with food and sex. We smacked bones against rocks, sticks against logs, then finally bumbled into skin stretched over tree trunks. It took Modern Science (tm) to make "real" music.
But what if we're so innately, tonally musical, that some of our first "survival" tools were sophisticated musical instruments?